Attention
You’re viewing an old version of the L’ART Research Assistant documentation. The project has moved to https://lart.readthedocs.io/projects/research-assistant.
2. Installation
2.1. Installing on Windows 10/11
Download the official Windows installer for the L’ART Research Client on Windows.
You can find the latest release (as well as earlier versions) at github.com/lart-bangor/research-client/releases.
Once downloaded to your device, open the Downloads dialogue in the browser and click Open file. Alternatively, navigate to your
Downloadsfolder in File Explorer and double click on the installer file.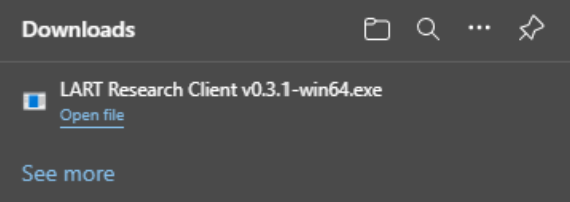
Fig. 2.1 Open file from downloads
Note
If you have Microsoft Defender active, you may be warned about running an unrecognised app.
This is expected behaviour for unsigned software downloaded from the internet. It is meant to get you to check that you’ve downnloaded the Software from a reputable source before running it.
This is fine if you’ve used our official download link above!
Click Run anyway to continue with the installation.
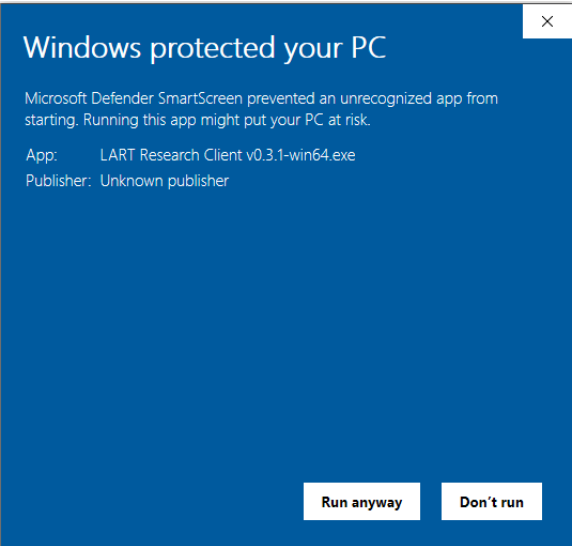
Fig. 2.2 Microsoft Defender SmartScreen
Select you preferred install mode.
We recommend choosing Install for me only for most use cases, which will install the app only for the current user.
However, you may wish to install the app for all users. For example, if you’re installing on a shared university or lab computer and want to centrally manage the installation for all users (requires administrator privileges).
If in any doubt, choose Install for me only.
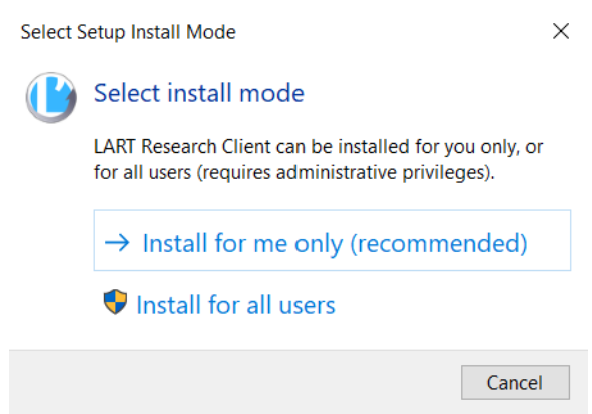
Fig. 2.3 Install mode setup
Click Yes to allow L’ART Research Client to make changes to your device (namely, to install the app).
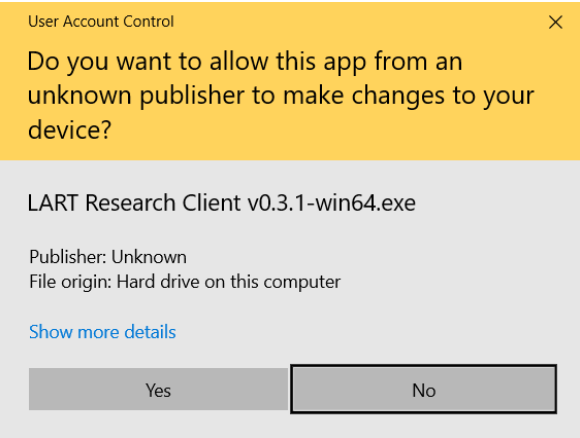
Fig. 2.4 User account control screen
Read and accept the licence agreement.
You must accept the agreement before installation can begin.

Fig. 2.5 License agreement
Select the destination location for your app.
Normally you should be able to leave this at the path already suggested by the installer, which will be the default directory for app installation for your system and the chosen installation mode.
Make sure you have at least 65MB of free disk space on your device.
Click Browse… if you wish to change the installation path of the app.
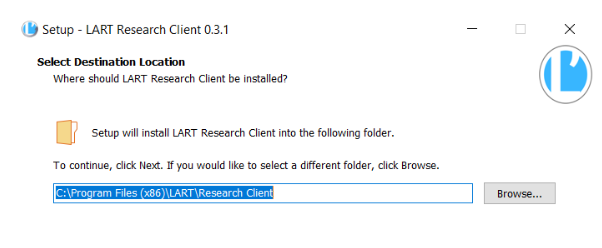
Fig. 2.6 Select destination location
Click Install to install the L’ART Research Client app on your device.
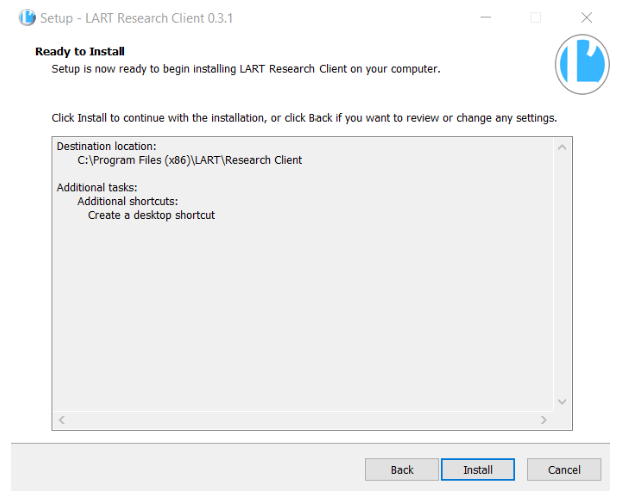
Fig. 2.7 Install Research Client app
Complete setup by clicking Finish and enjoy!
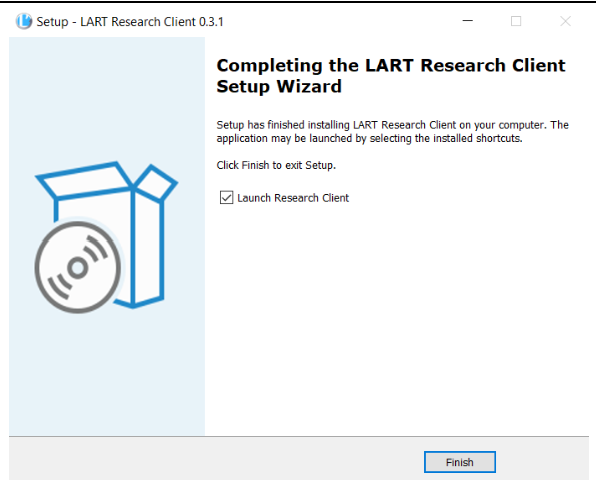
Fig. 2.8 Complete setup of Research Client app
2.2. Installing on Linux
This currently requires building from source or running as a Python package (requires Python 3.10), but should run if you have Chrome or Chromium installed.
Note
Help wanted!
We would welcome help for developing a sustainable workflow to build distributables for Linux. If you have any experience with packaging for one or more Linux distributions (e.g. as flatpaks, *.debs, snaps, etc.) and would be willing to help with that please do get in touch!
2.2.1. Running as a Python package
The easiest way is to run the app as a Python package. On Ubuntu 22.04 or newer, follow the steps below to install the Python package and all its dependencies:
$ sudo snap install chromium
$ sudo apt update && sudo apt upgrade -y
$ sudo apt install pipx -y
$ pipx install research-client
$ research-client
You can now launch the app by simply running the command research-client from a terminal. If
this doesn’t work straight away, you might need to log out and log back in before launching the app
for the first time.
2.2.2. Building from source
Alternatively, if you want to build the app as a proper binary for your system,
you can follow the steps for Setting up the development environment from the
Developer Guide, and then just run
python3.10 -m pipenv run python manage.py build from inside the
project’s root directory.
This will produce a tarball (*.tar.gz) in the ./dist/linux/
directory containing the full set of binaries for the application, which can then
be installed in the appropriate way for you system or run directly from the
executable therein.
The only real advantage this might offer is if you want to install the Research Client on several machines, as you can just copy over the tarball, exctract it and run the app, without needing to worry about any dependencies (they are all packaged together when the executable is built). There is no real additional advantage over running as a Python package.
2.3. Installing on MacOS
This currently requires building from source or running as a Python package (requires Python 3.10), but should run if you have Chrome or Chromium installed.
Caution
App termination issue on MacOS
There is currently an issue where the app may not terminate correctly on MacOS after the main window has been closed. If the background Terminal window remains open after a few seconds, this may have to be closed manually and the user may have to confirm that they want to really terminate the process.
This is not harmful beyond the annoyance value, as long as the user does not close the Terminal window before they have finished the data collection.
For more information see #37.
To build from source follow the same instructions as for Linux above, with some adjustments necessary (such as using port instead of apt). Since we don’t currently have full instructions that have been tested on MacOS for this, it will be preferable to run as a Python package unless you want to actively figure out any problems you might encounter during the build.
To run as a Python package, follow these instructions:
Install Chrome from the app store (or install Chromium using your preferred method).
Install the latest version of Python 3.10x (that is version 3.10.10 as of the time of writing not 3.11.x!) from the official Python releases for MacOS.
After runnin the installer, open a Terminal and check that
python3 --versionprints something like “Python 3.10.10”. This means python has installed correctly and you’re ready to continue.From the Terminal, install the Research Client with the command
pip3 install research-client.This will download and install the research-client and all its dependencies (other than Chrome, which you should have installed from the app store already).
You can now launch the app from within a Terminal using the following command:
$ python3 -m research-client
Obviously, you may not want to open a Terminal, do cd ~/research/client and then
type python3 -m research-client every time. You can create
a shortcut which can be clicked to launch the app by following these additional steps:
Make an executable
.commandfile on your Desktop directory (~/Desktop) by running the following in a Terminal:$ cd ~/Desktop/ $ echo > Research-Client.command $ chmod +x ./Research-Client.command $ open -a TextEdit ./Research-Client.command
In the editor that popped up with the last command above, copy and paste the following code, then save and close the file.
#!/bin/bash

python3 -m research-client
Once you’ve created the
Research-Client.commandfile as per the two steps above, you can just locate it on your Desktop or in Finder (e.g. launch Finder, then in the top click on , and open theDesktopfolder) and then drag and drop theResearch-Client.commandonto your dock.When you click on the file in the dock or on the Desktop now, it should launch a Terminal window together with the app.